Vinyl prototyping & design
The first step on the route to a custom product protection solution is the design and vinyl prototyping process.
Caplugs has extensive experience in designing and manufacturing dip moulds. Here is what to expect from the process, from design to completed vinyl prototype.
Dip moulding is a shaping process where a mould is immersed in a liquid material to create a product with no seams. Caplugs customers benefit from a reduction in manufacturing costs due to the ease of producing the mould, and they can speed up the process from design to finished product as this is significantly faster than, for example, injection moulding.

Design
The first step in designing a vinyl prototype is determining what needs protection. Caplugs engineers can then assess whether plastisol dipping is the best method for the application. To do this, they must first ask a range of critical questions, including:
- What is the required shore hardness?
- Must the product be resistant to high temperatures?
- What is the required wall thickness of the vinyl?
Once the engineers have determined the characteristics and product dimensions, they can start working on the design. For this, they use STEP-file PDF formats, that provide essential information about the product to be protected, to determine the customisation requirements such as size and depth. The programme uses this document to calculate the cap diameter and price automatically.

Guidelines
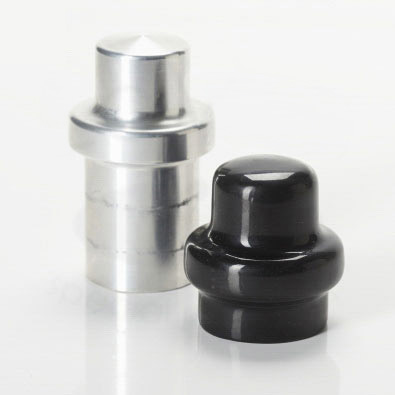
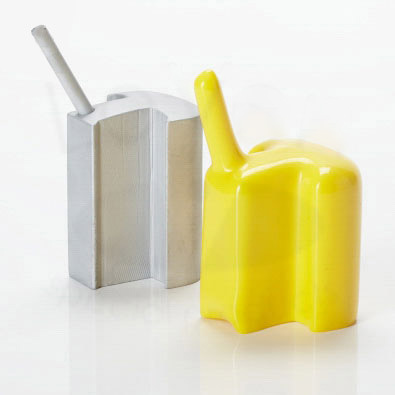
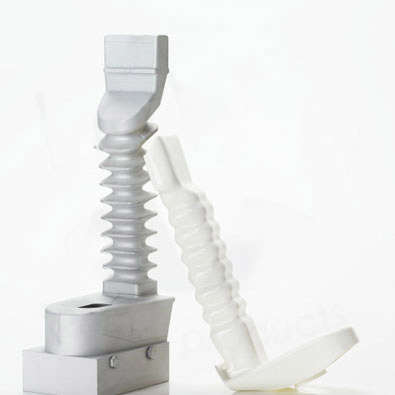
As for all processes, guidelines must be observed when designing moulds for dip moulding. Moulds for dipping are usually made of aluminium and are heated before being dipped in liquid PVC-plastisol. This cures – or hardens – the vinyl compound.
It is possible to produce simple and complex moulds in-house on fully automated CNC machines. Caplugs offers fast and efficient service from professional and well-equipped production facilities.
Generally, roundings are added to the mould design to prevent the product from sticking to the mould, and release angles are added to avoid air pockets. These advanced production features help ensure a uniform and high-quality product.
Set-up prototype
When the design is finalised, and the customer has approved the drawings, the prototype is created. The application and the production method is then determined. Sometimes a product is longer, wider, or larger than the machine and oven. In this case, customisation is required, and special hooks must be attached to the dip moulding process. It must also be ascertained how many components will fit on a rack, the weight of the individual component, and whether the top of the cap will be cut or have a hole punched into it. If the product has a vinyl cover, a mould must be ordered.


Product samples
It does not take long for a prototype mould and several product samples to be produced. After about four weeks, the first samples are ready. If the design needs to be changed, this can be done quickly at the prototype stage and within an agreed timeframe. Once the samples have been approved, the item is entered into the system, along with the order. Finally, a check is made to ensure the products fit into the packaging for dispatch. The lead time is typically around six weeks from customer agreement to the pricing (including unit price, tooling price, and mould price) until the order is received.
The next step in our journey to create a custom protection product is the choice of dip moulding materials.
